Web Server NGINX
Note
Clone dahulu vm Debian zero/Master menjadi nginx web server , lalu ubah hostnamenya menjadi nginx
Nginx (dibaca Egine X) adalah web server kedua yang paling banyak digunakan di internet setelah Apache. Nginx lebih hemat dalam penggunaan resource memori. Beberapa perusahaan teknologi yang menggunakan Nginx yaitu OpenDNS, CloudFlare, Adobe, BuzzFeed, ARM, dan WordPress.
Installasi NGINX
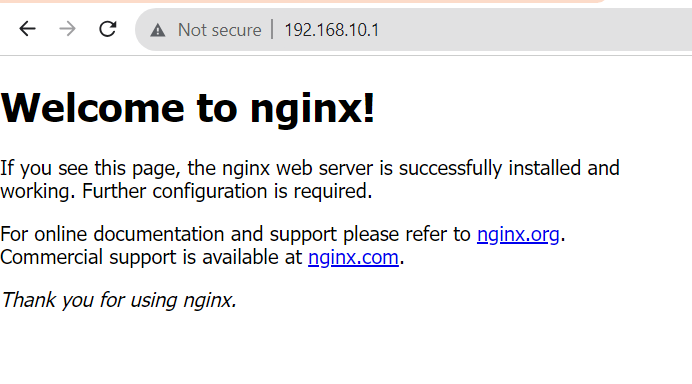
Testing Installasi NGINX
akses ipserver menggunakan http:// pada browser
Server Block
Untuk menghosting banyak domain dalam satu Nginx web server, konfigurasikan Server Block (di Apache dikenal sebagai Virtual Host).
Membuat folder document root dan file html
root@NGINX:~# cd /var/www
root@NGINX:/var/www# mkdir domain.lan
root@NGINX:/var/www# nano domain.lan/index.html
Masukkan teks kedalam file index.html

Mengubah permission dan ownership folder document root.
root@NGINX:/var/www# chown -R www-data:www-data domain.lan
root@NGINX:/var/www# chmod -R 755 domain.lan
Membuat file konfigurasi server block untuk domain.lan
server {
    listen 80;
    server_name www.domain.lan domain.lan;
    root /var/www/domain.lan;
    index index.html index.htm;

    location / {
        try_files $uri $uri/ =404;
    }

    access_log /var/log/nginx/domain.lan_access.log;
    error_log /var/log/nginx/domain.lan_error.log;
}
cek konfigurasi
pastikan muncul pesan seperti ini
nginx: the configuration file /etc/nginx/nginx.conf syntax is ok
nginx: configuration file /etc/nginx/nginx.conf test is successful
restart NGINX dan cek statusnya
root@NGINX:/etc/nginx/conf.d# service nginx restart
root@NGINX:/etc/nginx/conf.d# service nginx status
Setting Domain DNS Server
Warning
Setting domain tidak akan dibahas pada modul ini, silahkan konfigurasi DNS Server secara mandiri dengan melihat pada bab sebelumnya
Tes Browse di browser menggunakan domain

PHP dengan NGINX
Install PHP-FPM
Install PHP-FPM dan extension yang umunya dibutuhkan.
root@NGINX:~# apt -y install php php-cgi php-mysqli php-pear php-mbstring libapache2-mod-php php-common php-phpseclib php-mysql php-fpm
Konfigurasi Server Block untuk PHP
Buka file Konfigurasi server block
server {
    listen 80;
    server_name www.domain.lan domain.lan;
    root /var/www/domain.lan;
    index index.php index.html index.htm;

    location / {
        try_files $uri $uri/ =404;
        include fastcgi_params;
        fastcgi_pass    unix:/var/run/php/php7.4-fpm.sock;
        fastcgi_index   index.php;
        fastcgi_param DOCUMENT_ROOT    $realpath_root;
        fastcgi_param SCRIPT_FILENAME $realpath_root$fastcgi_script_name;
    }

    access_log /var/log/nginx/domain.com_access.log;
    error_log /var/log/nginx/domain.com_error.log;
}

Pengujian PHP
Membuat file info.php
Masukkan script PHP dibawah inibrowse http://www.domain.lan/info.php
